Knowing how to change tire is an essential life skill every driver should master because a flat tire can happen anytime, anywhere. Whether you’re on a highway, in a parking lot, or near home, understanding the correct tire replacement process saves time, money, and stress. This guide explains the safest, easiest, and most efficient way to replace a flat tire using professional techniques anyone can follow. By the end, you’ll be confident handling a tire change without needing roadside assistance.
Tools Required Before You Change a Tire
Before starting, you must have the proper tools because using the wrong equipment can damage the wheel or cause injury. Most vehicles already include a tire-changing kit in the trunk, but you should confirm this in advance. Essential tools include a spare tire, jack, lug wrench, wheel wedges, and a flashlight if visibility is low.
Having gloves and a reflective warning triangle also improves safety, especially when replacing a tire at night or on busy roads. Professionals recommend keeping these tools organized in one bag so they are easy to access during emergencies.
Step-by-Step Process – How to Change Tire on Car
Know how to change tire safely with this simple step-by-step guide that explains the exact car tire change steps beginners can follow easily. This practical tutorial shows how to change a flat tire on car correctly so you can handle emergencies confidently without roadside help.
1. Find a Secure Stopping Area
Safety is the first priority when dealing with a flat tire, and change tire. Move your vehicle away from traffic and stop on a level surface such as a parking lot or roadside shoulder. Turn on hazard lights immediately so other drivers can see you from a distance. Avoid curves, hills, or soft ground because unstable surfaces can cause the jack to slip.
2. Stabilize the Vehicle
After stopping, engage the parking brake firmly and place wheel wedges behind the tires opposite the flat one. This prevents the car from rolling unexpectedly while you work. Stability is crucial because even slight movement can knock the vehicle off the jack.
3. Slightly Loosen Lug Nuts
Before lifting the vehicle, use the lug wrench to turn each lug nut counterclockwise about one rotation. This step is easier when the tire is still touching the ground because the wheel doesn’t spin. Do not remove them completely yet-just loosen enough so they unscrew easily later.
4. Lift the Car Using Jack
Locate the manufacturer’s recommended jack point near the flat tire. Placing the jack anywhere else can damage the car frame. Slowly raise the vehicle until the tire is about 2–3 inches above ground. Lift steadily and avoid sudden movements to maintain balance.
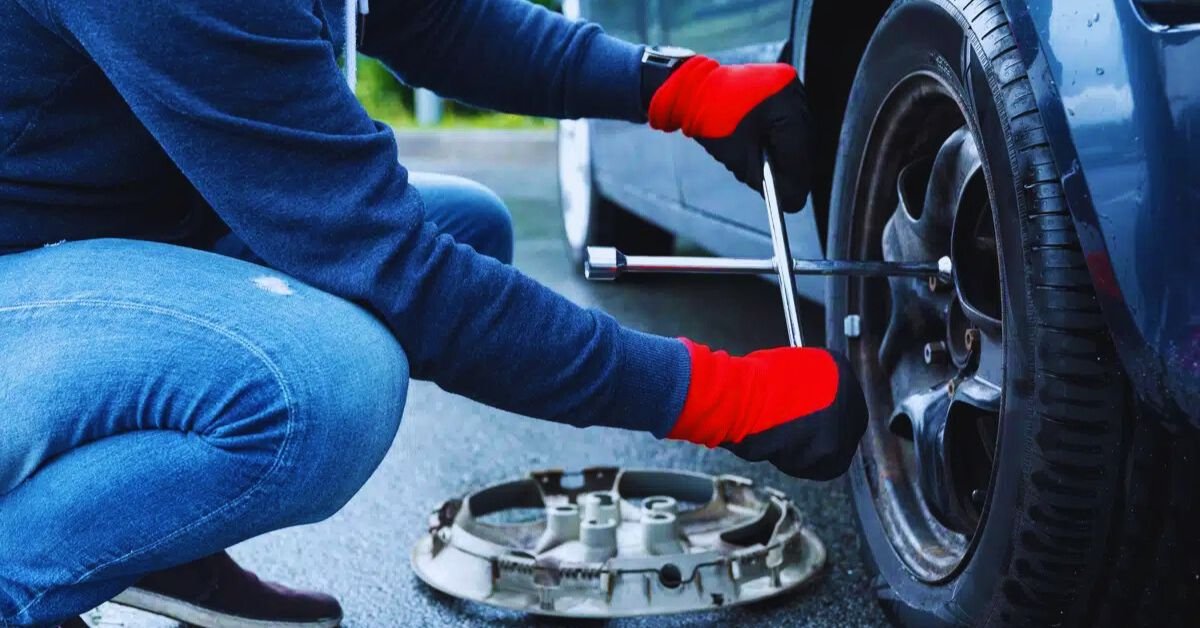
5. Remove Lug Nuts and Flat Tire
Now fully remove the loosened lug nuts and store them safely in a pocket or container so they don’t roll away. Pull the flat tire straight outward toward you. Tires can be heavy, so use both hands and keep your back straight while lifting.
6. Mount the Spare Tire Correctly
Align the spare tire holes with the wheel bolts and slide it into place. Push firmly until it sits flush against the hub. Hand-tighten the lug nuts first to secure the tire. Hand tightening ensures proper alignment before final tightening with a wrench.
7. Lower Vehicle and Tighten Nuts Properly
Carefully lower the car until the tire touches the ground but still carries slight weight from the jack. Tighten lug nuts in a star pattern rather than circular order. This distributes pressure evenly and prevents wheel misalignment. After tightening, lower the vehicle completely and remove the jack.
Professional Technique: Star Pattern Tightening Explained
Mechanics always tighten lug nuts in a cross or star pattern instead of going clockwise. This method distributes pressure evenly across the wheel hub and prevents vibration or wobbling while driving. Tightening in a circular order can cause uneven pressure that loosens nuts over time.
How Long Does It Take to Change a Tire?
The time required depends on experience and conditions. Beginners usually take 20–30 minutes because they move carefully and double-check each step. Experienced drivers can finish within 8–12 minutes. Practicing once at home significantly reduces time because you become familiar with tool placement and lifting points.
Real-Life Example Scenario
Suppose you are traveling at night and your tire suddenly deflates. Because you already know the correct method, you pull over safely, turn on hazard lights, place wedges, and replace the tire calmly. Instead of panicking or waiting for assistance, you resolve the problem yourself and continue the journey. This example shows how practical knowledge improves confidence and independence on the road.
Expert Tips for Faster and Safer Tire Changes
- Check spare tire pressure every month so it’s ready for emergencies.
- Keep a small wooden board in your trunk to stabilize the jack on soft ground.
- Apply penetrating oil to rusty lug nuts before loosening.
- Use body weight instead of arm strength for stubborn nuts.
- Replace temporary spare tires with full-size tires as soon as possible.
Common Mistakes Drivers Often Make
One common mistake is lifting the car before loosening lug nuts, which makes them harder to remove. Another is placing the jack at the wrong point, which can bend metal or cause the vehicle to slip. Many drivers also forget to fully tighten lug nuts after lowering the car, which can lead to wheel detachment while driving.
Rushing is another frequent error. People try to finish quickly due to stress, but skipping safety steps increases risk. Following a systematic process ensures both safety and efficiency.
Situations Where You Should Not Change a Tire Yourself
There are certain conditions where changing a tire yourself is unsafe. If you are on a narrow highway shoulder with heavy traffic, calling roadside assistance is safer. Severe weather such as heavy rain, snow, or strong winds also makes tire replacement dangerous.
If the tire blowout damaged the rim, suspension, or axle, driving even with a spare could worsen the problem. In such cases, professional towing is the best option.
Frequently Asked Questions (FAQs) About How to Change Tire
Changing a tire can feel confusing for beginners, especially during emergencies. These FAQs answer common questions to help you understand the process, safety tips, and best practices quickly.
1. What should I do immediately after getting a flat tire?
Slow down gradually, pull over to a safe location, turn on hazard lights, and apply the parking brake before inspecting the tire.
2. Can I drive long distance on a spare tire?
Temporary spare tires are designed only for short distances and reduced speeds, usually under 80 km.
3. Why is my spare tire also flat?
Spare tires lose pressure over time if not checked regularly, which is why monthly inspection is recommended.
4. Do all cars have a spare tire?
No. Some modern vehicles come with tire repair kits instead of spare tires to save weight and space.
5. How tight should lug nuts be?
They should be tightened firmly in a star pattern using steady pressure, ideally to manufacturer torque specifications if available.